Materials needed:
Hook: Standard 2x long hook shank nymph hook. Sizes #8-#16.
Thread: Light olive 8/0 UNI-thread.
Weight: One undersized copper tungsten bead, one oversized tungsten bead, 15 wraps of lead wire.
Antennae: Tan goose biots.
Tail: Tan goose biots.
Body: AZ synthetics peacock golden dubbing.
Rib: Copper wire.
Legs: Partridge
Thorax: AZ synthetics peacock golden dubbing with hares ear guard hairs mixed in.
Place your beads on your hook.
Put the copper bead on as you normally would, but put the black bead on the opposite way so the big hole in the black bead fits over the top of the copper bead.
Pull the black bead back to the hook bend, and start your thread just behind the copper bead.
Select 2 goose biots and place them back to back as shown.
For antennae, use goose biots from the bottom of the feather. These are usually thinner, and aren't as rigid as the biots further up on the feather.
Tie in the biots on either side of the copper bead, and whip finish.
Put your black bead back up against the copper bead.
Wrap 15 or so wraps of lead behind the beads, and push the wraps into the bead.
Make sure you leave enough bare hook shank to tie in the tail!
Restart your thread just behind the lead wraps, and dub a little dubbing onto your thread.

Build a small bump with your dubbed thread.
Select two goose biots, and place them back to back.
Tie them in on either side of the bump of dubbing.
Trim the butt ends and tightly wrap your thread to the back of the lead wraps.

Wrap your thread
across the lead wraps so you don't separate the lead wraps.
Do the same in the opposite direction.
When done properly, your lead wraps should be solid. They should not rotate or move at all.

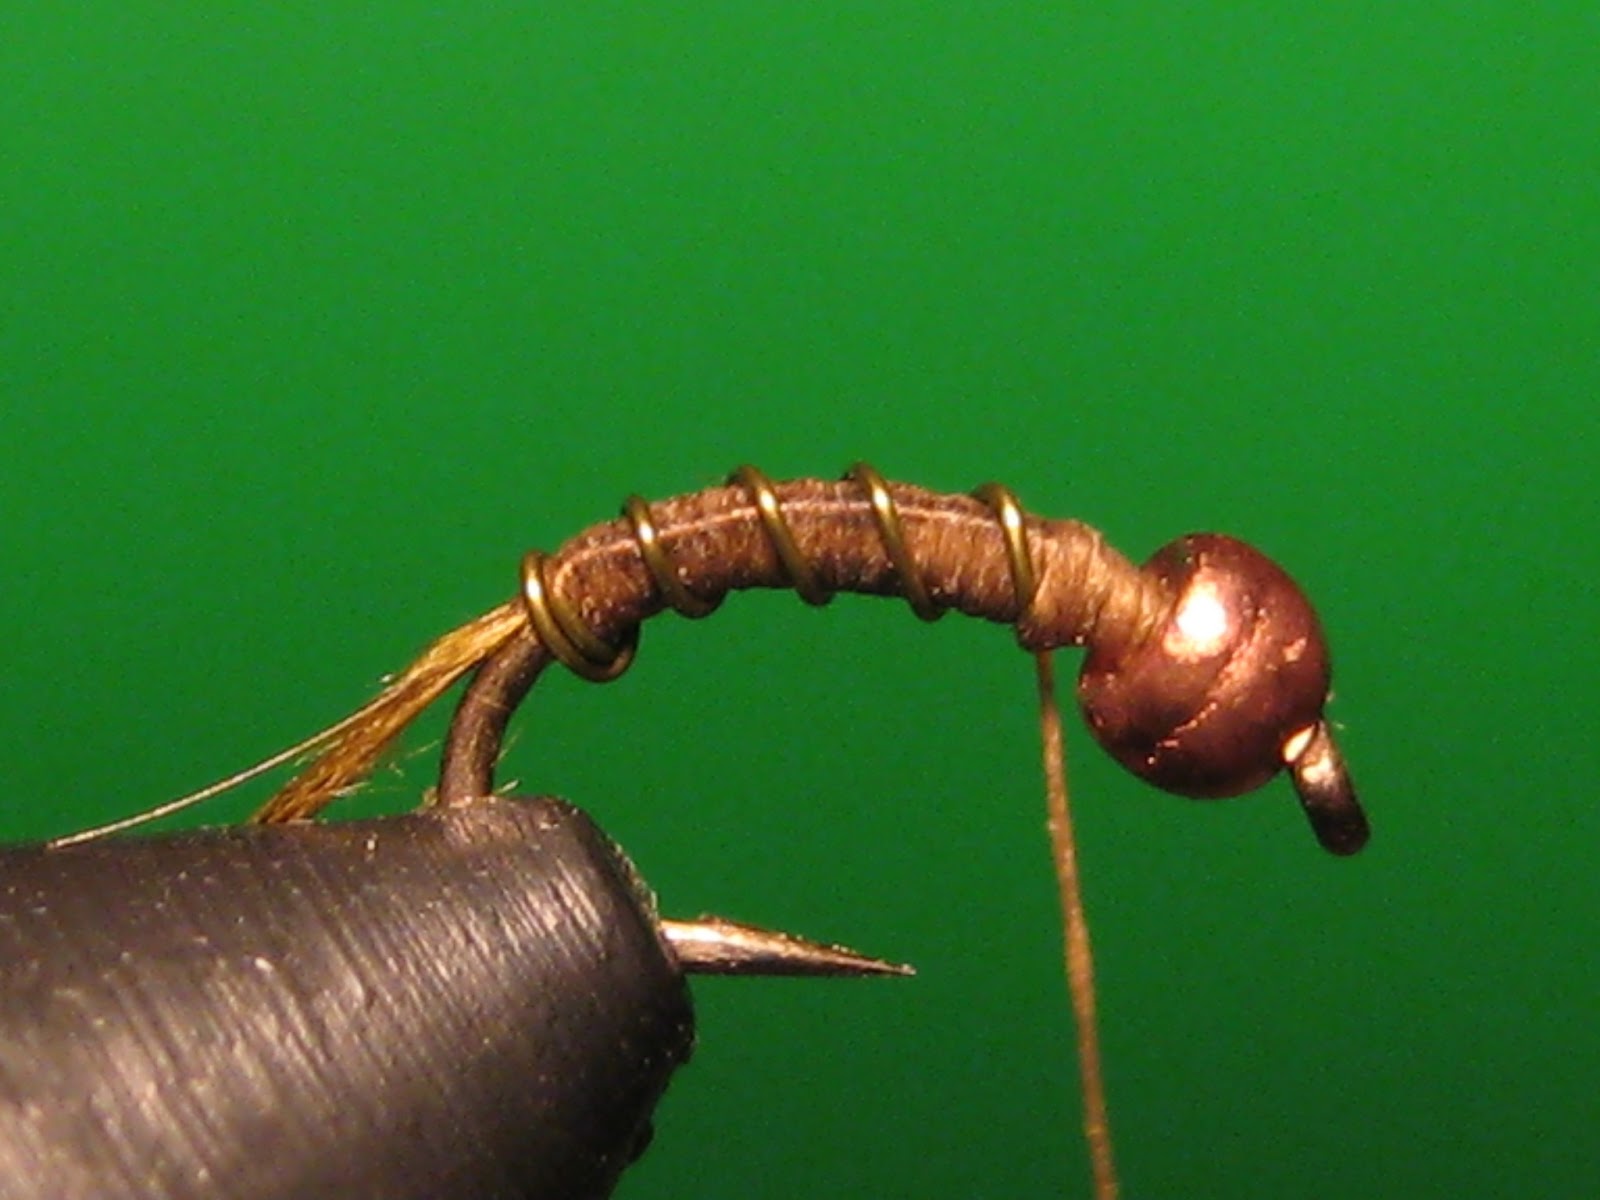
Tie in your copper wire rib.
Dub some dubbing onto your thread and wrap forward building a tapered body.

Wrap your rib forward, and tie it off.


Tie in some partridge legs on both sides.

Make a small dubbing loop with your thread.

Fill your loop with dubbing. Mix in some guard hairs from a hares mask.
Twist.

..And wrap to build up a thorax.
The thorax should match the size of the black bead. Make sure you push the black bead all the way forward and keep it in place with the dubbing.
Tie off the dubbing loop, and whip finish.
Use a dubbing brush to tease out fibers.

 Place your hook in your vise.
 Wrap 10 or so wraps of lead wire.
 Start your thread behind the wraps of wire, and wrap your thread across the lead wraps to hold them in place.
 Tie in your tubing behind the lead wraps.
 Build a smooth taper from back to front. Make sure no lead wraps are showing.
 Wrap your tubing forward, and tie it off with your thread.
 Tie in your scud back/thin skin .
 Dub some brown dubbing onto your thread, and build your head.
 I color my thread with a brown sharpie to match the color of the scud back and dubbing.
 Fold the scud back over the top of the head, tie it off and trim.
 Whip finish. Use a dubbing brush to tease out the dubbing.