Friday, October 19, 2012

Japanese nymph leg substitute for realistic legs.


I have found a perfect substitute for the rare "Japanese nymph legs"...

I cut out the flat part from the lid of a coffee can lid.


With the flat part cut out, I took a razor blade and cut strips from it, as thin as I could.


...Leaving you with these.

From here, you can use them just like regular JNL's.

To make them thinner than you can cut, try heating the strip of plastic evenly and quickly, and let it hang, and stretch out.  This will give you some really nice looking legs.

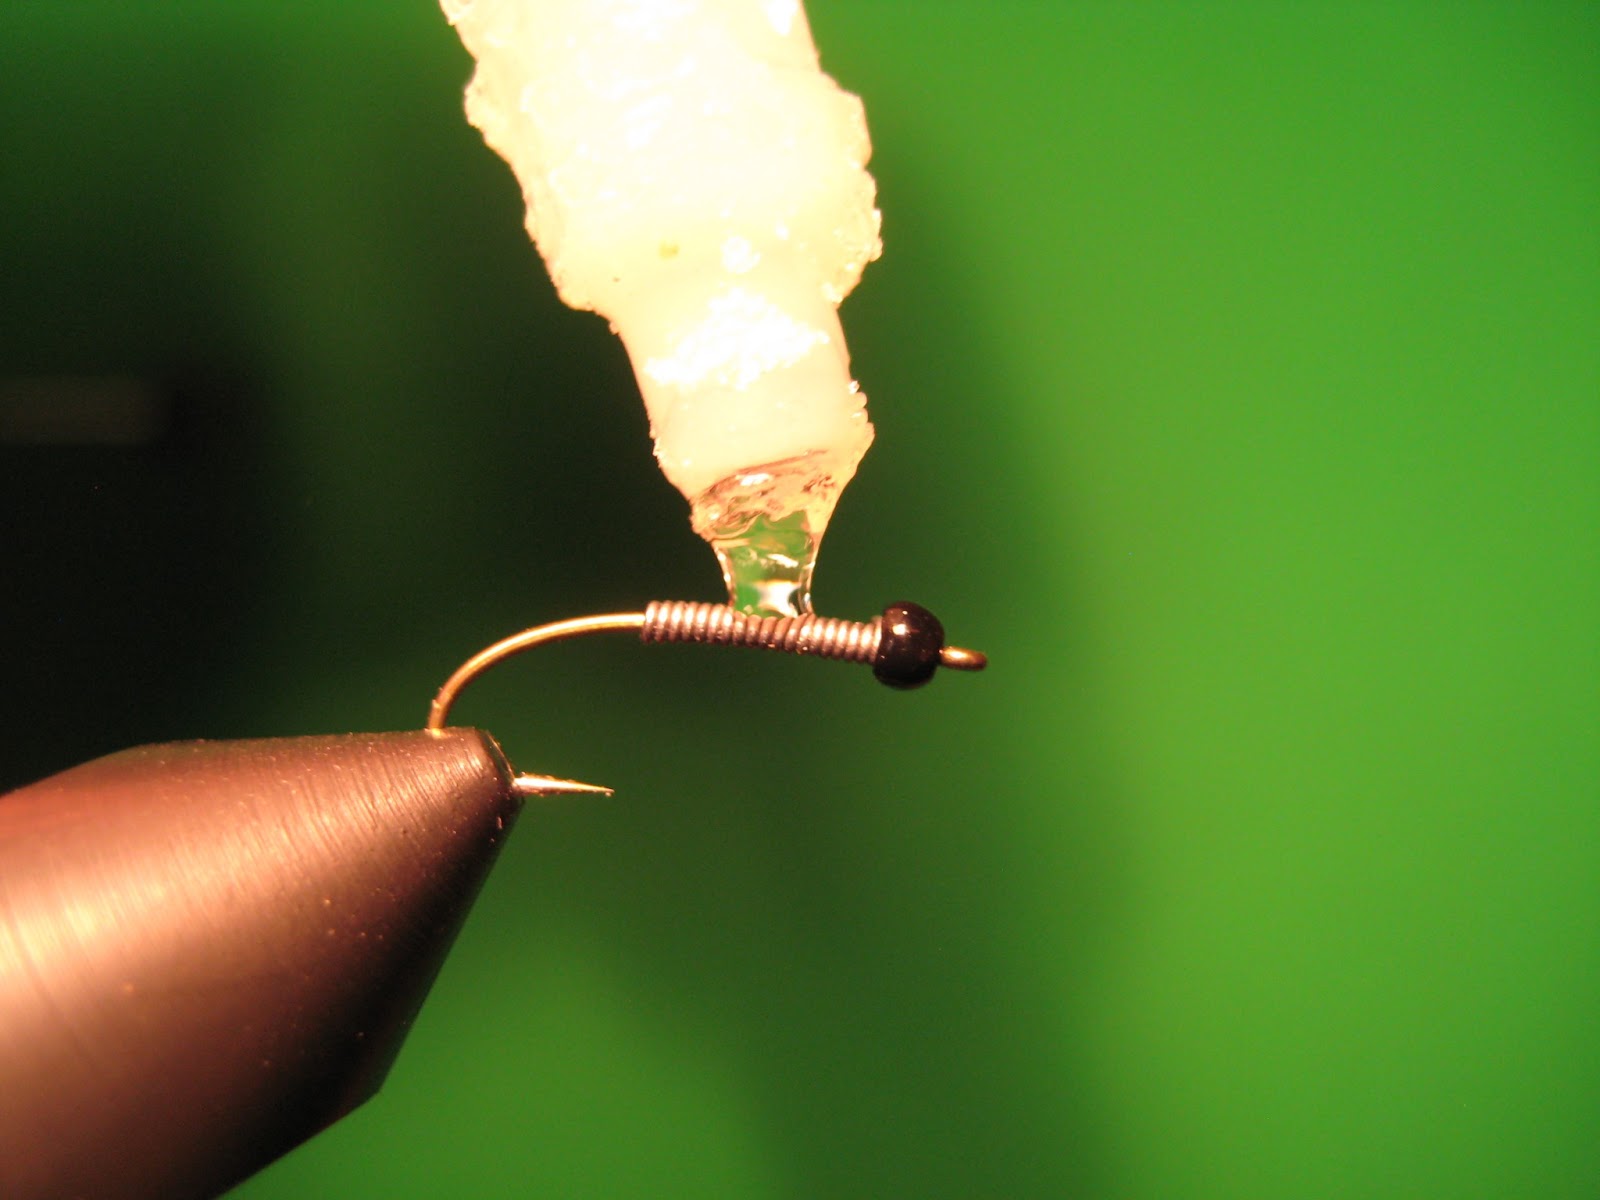
I tie these in with a figure eight thread wrap.  To make the joint's, heat up your bodkin (not too hot), and press it against the leg.  When you are finished, color them with a black Sharpie.


Method 2:
The above method works great for larger patterns.  For smaller patterns, I have been experimenting with a few different materials.  Broom bristles work great.  They lay down perfectly, and they look good too.

I have also tried using paintbrush bristles which are smaller and look great, but they are pretty difficult to work with.  While bending the joints, I melted off a few legs entirely.  It will take some practice for sure.

I will be posting at least one step by step pattern involving these legs in the next few days to show how to make the joints, and tie in the legs.

How to tie the Bloodworm (midge larvae)


The bloodworm imitates midge larvae that lives near the bottom of lakes.  I often fish this as my bottom fly under other midge patterns, like the optimidge, or some other midge pupa pattern.

Materials needed:
Hook:  TMC 200R size #14-18
Bead:  Black tungsten
Weight:  Lead wire
Thread:  Any red thread that lays flat.
Rib:  Red wire, and black 6/0 thread

 Put your bead on the hook.


Wrap lead wire to about where the bend starts on the shank.


Use Super Glue to lock the lead wraps together.

This is an important step.  If you have seen any of my other patterns, you will notice that I usually wrap my thread over the lead wraps parallel to the hook shank to keep the lead from unwrapping while you cover the wraps with thread.  We are trying to keep the body size to a minimum, so I use this method for this pattern.


I use my bodkin to evenly spread the Super Glue over the lead wraps.


Let this dry fully.


Start your thread just behind your lead wraps.


Tie in your rib.  I tie both the wire, and the black thread at the same time to cut down on bulk.


Wrap your thread flat, and as thinly as possible over your lead wire wraps.  If done properly, you should still see the segmentation from the lead wire if you look close enough.


Wrap your wire rib evenly to the bead, and tie it off.

I wrap the two ribs separately because they are easier to control that way.


Then wrap your black thread rib forward, keeping it right next to the red wire rib.

I normally wrap my black thread behind the wire, because I think it looks slightly better.  In this example, I wrapped the black in front of the wire for some reason.


Whip finish.


As with all of my midge patterns, I like to coat the entire fly in some UV resin to improve it's durability.

You could use super glue, epoxy, pretty much anything that dries clear, as a substitute.  The UV resin definitely works best though...


Spread the resin evenly over the entire fly, and put it under a black light, or in direct sunlight to cure.


A friend of mine nailed this 22" brown the other day on this exact fly.