Saturday, January 4, 2014

Double bunny


Materials needed:
Hook  Size #8-2 bass hook.
Thread  Gray Uni-tread 6/0.
Bead  Brass cone head bead with eyes.
Under-body  Senyo laser dubbing gray.
Over-body  2 zonker strips, one gray, one white.  Silver flash.

Put your bead on your hook.


Wrap 20-30 wraps of lead wraps, and press them into the bead.


Rotate your hook 90 degrees for this step.  Get the eyes where you want them.  Put a drop of thin super glue or zap-a-gap on the lead wraps and let it run down into the bead.


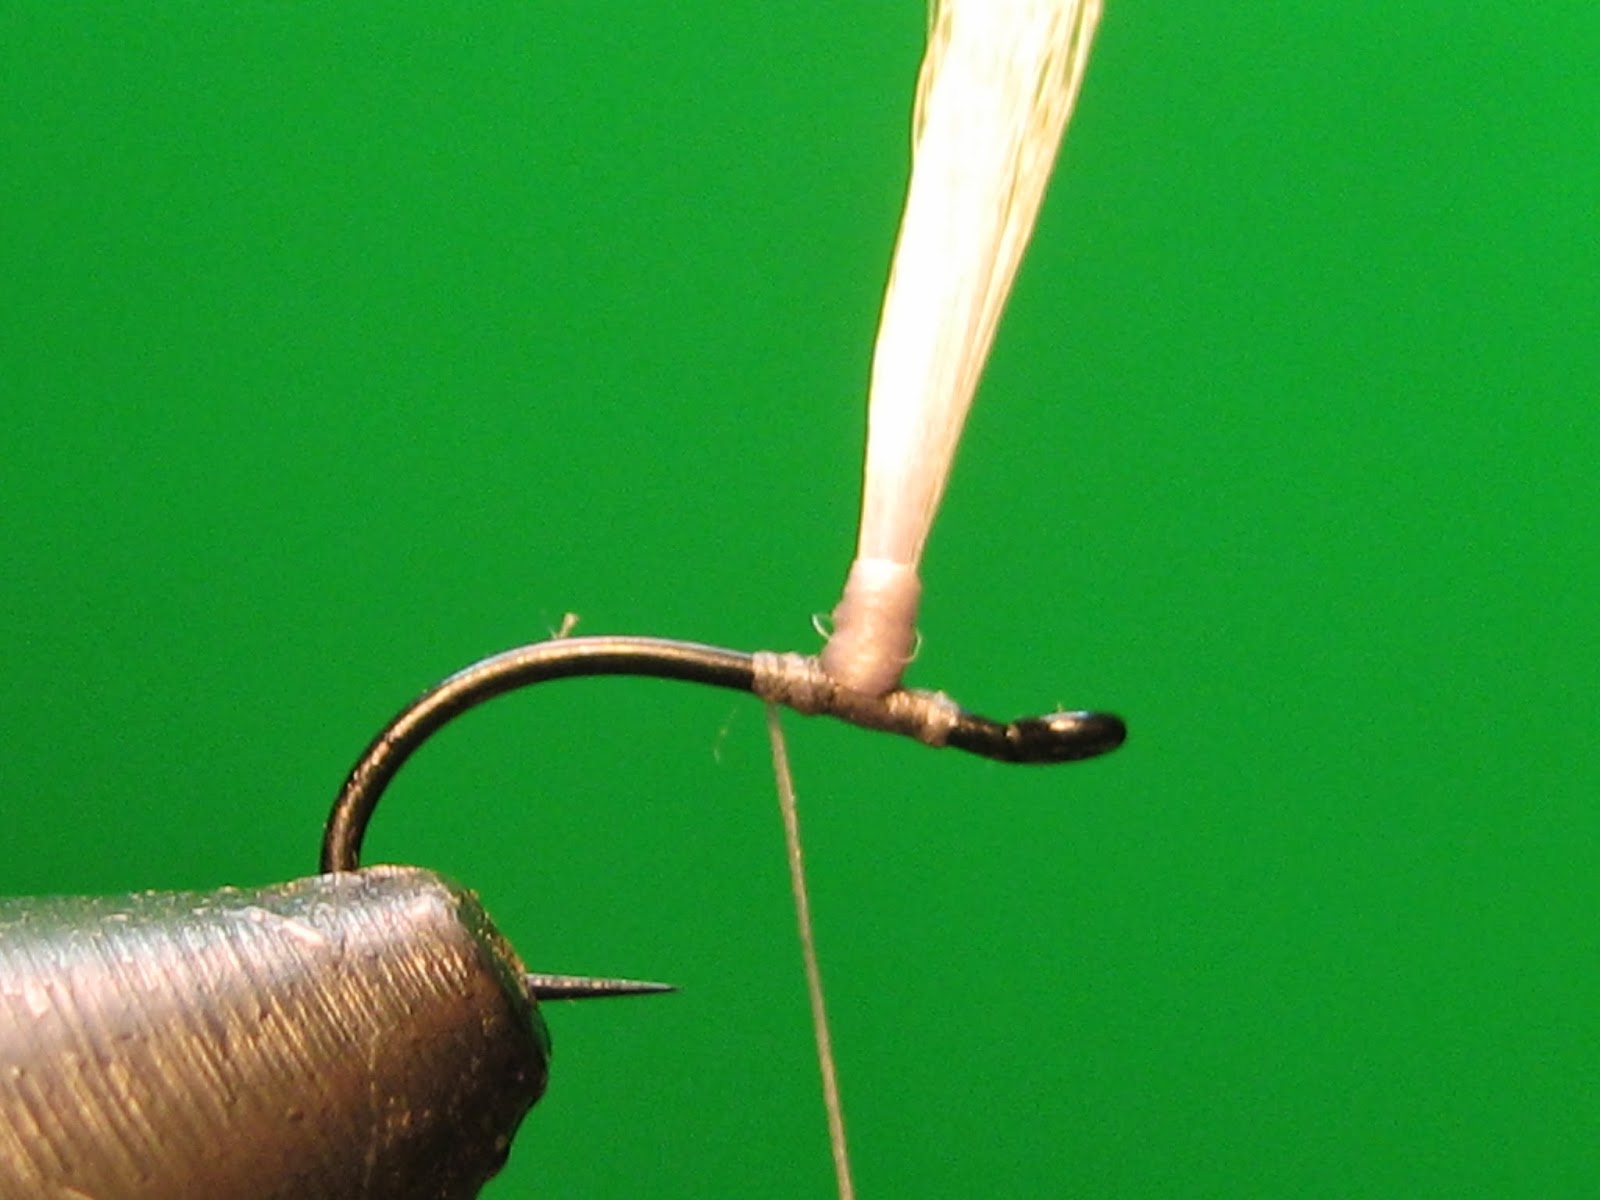
Measure your white zonker strip to about the length of 2 hook shanks. Separate the hair fibers at your tie in point, then tie it in with 4-6 tight wraps, then 3 wraps around just the hook shank.  Leave enough room upfront to tuck into the cavity of the bead.


Make a dubbing loop.


Twist...


Brush out the dubbing fibers with a toothbrush or dubbing brush.


Wrap evenly to build an under-body.


Trim the fibers from the end of the strip of leather and tuck it into the cavity of the bead.


Make sure the leather of the zonker strip is tight up against the dubbed body, and secure the leather to the hook shank with 4-6 tight wraps.


Flip the fly over, and measure your gray zonker strip to equal the length of the white one including the tag end that is tucked into the bead.


Lay the gray strip on the underside of the body.  Mark the spot of the zonker strip that lays over the the point where the dubbing meets bare hook shank.  Pierce the zonker strip on that mark.


Put the zonker strip in place along the bottom of the fly.


Trim the fibers off of the end of the zonker strip, and tuck the leather into the cavity of the bead.


Secure the zonker strips with 10+ tight thread wraps.


Tie in 3 strands of silver flash on both sides of the fly.


Whip finish, and trim your thread.


Apply head cement to the thread wraps.


Monday, November 4, 2013

Extended body parachute blue wing olive.


Materials needed:
Hook - Thin wire dry fly hook.  I'm using a TMC 206BL size #18
Thread - Gray 8/0 UNI-thread
Parachute wing - I'm using dun colored Hi-Float fibers, but antron yarn, calf tail, etc. can also be used.
Hackle - Medium dun hackle one size larger than your hook.
Body - BWO dubbing with an extended mayfly body shown HERE.

Put your hook in your vise and start your thread.


Tie in some parachute wing material.


Stand up your parachute, and build a post with your thread.


Get your parachute exactly where you want it, and put a drop of head cement on the post to hold it in place.


Tie in your hackle (shiny/convex side facing you) with a few wraps around the feather base, and the hook shank.

I always trim the fibers from the bottom of the feather instead of stripping.  It stops the feather from rotating.


Wrap your thread around the feather, and the post tightly.

This will hold your feather straight up and down as shown.


Tie in your extended body about an eye's length behind the parachute post.


Trim the butt end of the body, and tightly secure your thread over the section you just trimmed.

You can apply Zap-a-Gap to the tie in point if you like, but if you secure it tightly enough, the body shouldn't rotate at all.


Put a little dubbing on your thread, and blend the extended body up to the parachute post.


Put your thread just in front of the parachute post.


Wrap 3-4 wraps of hackle around the parachute post.


Tie off your hackle against the hook shank.


Put some dubbing on your thread, preen back the hackle fibers, and wrap your dubbed thread to build the head of your fly.


Whip finish and trim your thread.

I color my thread with an olive Sharpie marker.


 Trim your parachute wing.


Making extended mayfly bodies.


There are many different ways to make extended mayfly bodies.  I've tried everything from deer hair, to porcupine quills.  My main issue with these other methods, is that it's hard to make the bodies the right size.

This method is very similar to another method that uses a needle (found in the Fly Tier's Bench side Reference) with one major difference.  Silicone.  Silicone will float much better than dubbing coated in head cement.

The idea is that since the body is tied on a needle, once you take it off, it leaves an open cavity inside the body which traps air and helps keep your fly floating.

Materials needed:
Needle - A regular sewing needle.
Silicone - Clear drying, waterproof
Dubbing - Any standard dry fly dubbing.  I'm using superfine blue wing olive dry fly dubbing.
Mayfly tailing material - I'm using dun colored mayfly tail fibbets.

You will also need either an electric drill, or a true rotary vise (rotates the fly in-line).

 Put your needle in your drill.


Put a thin coat of silicone on the needle.


Put your tailing material on the needle.  The silicone will hold it in place.


Take a small wisp of dubbing, start rotating your drill/vise, and touch the wisp of dubbing to the rotating needle.  This will wrap your dubbing around the needle.  Add more dubbing as needed.  Build a slight taper as shown.


Make sure your tailing material is separated as shown.


Remove the body from the needle by sliding it off the end.

Put a little bend in the body, and set it aside to dry.