Sunday, December 16, 2012
RS2 Emerger
I fish this as my bottom fly, usually with something heavier ahead of it. You will get strikes at the very end of a dead drift, as your line tightens, and the fly rises in the water.
Materials Needed:
Hook: TMC 101 size #20-24
Thread: Grey Uni Thread 8/0
Tail: 4-8 blue dun hackle fibers
Wing: White antron yarn
Put your hook in the vise. I am using a size #22.
Start your thread, and work your way back evenly to the hook bend.
Select a few fibers from some blue dun hackle.
Tie in your hackle fibers to create a tail.
Clip the tag ends of the hackle fibers, and wrap your thread forward. Wrap as evenly as possible.
Tie in some antron yarn. Be sure to leave enough space to build a head without crowding the eye of the hook.
Clip the tag end of the antron yarn, and wrap a few thread wraps behind the yarn.
Wrap a few wraps in front of the yarn to build up a head slightly bigger than the body.
Trim the yarn to a length of about the hook gap.
Whip finish, and apply head cement.
Sunday, December 2, 2012
Copper John
The Copper John is an excellent searching pattern. They can be tied with many different colors of wire. Red, and chartreuse are very popular.
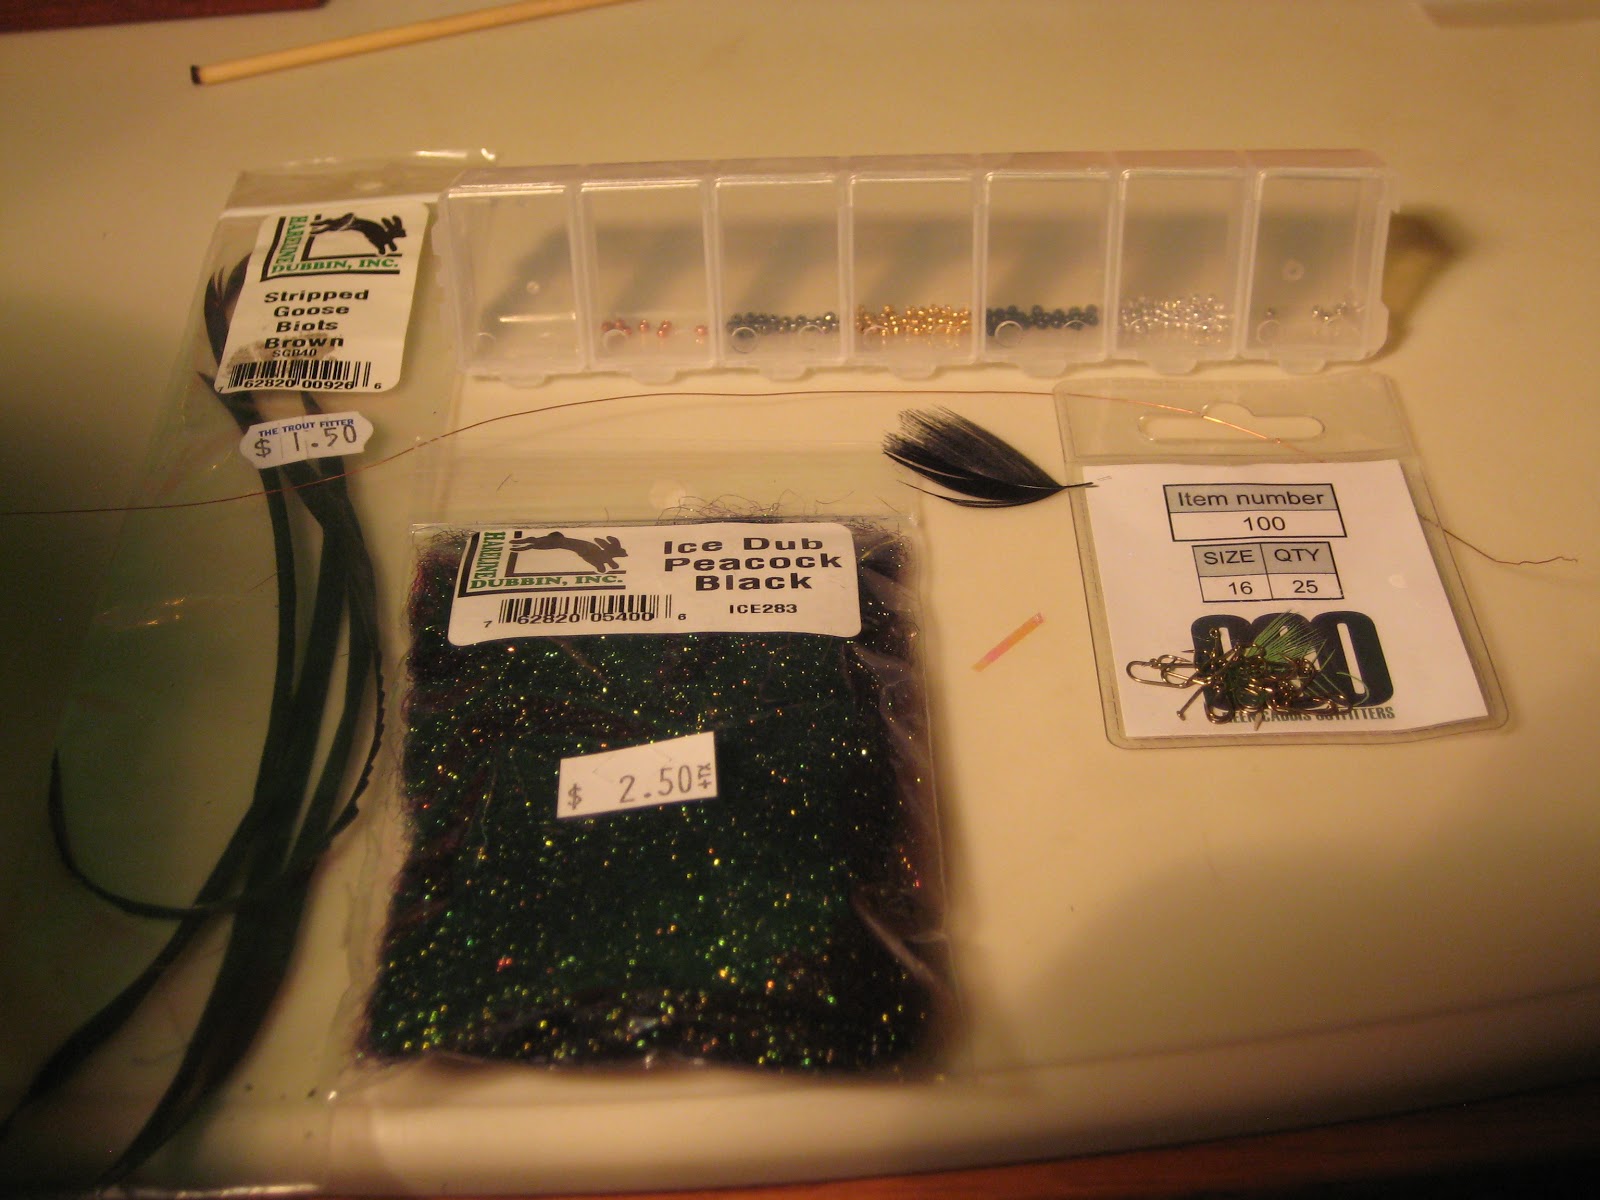
Materials Needed:
Hook: Standard nymph hook
Bead: Copper. Tungsten, or brass. (I'm using a size 5/64 bead on my size 16 hook)
Thread: Black UNI
Tail: Brown goose biots
Body: Copper wire
Flash: Pearl tinsel
Legs: Mallard flank died black
Thorax: Peacock, or synthetic peacock dubbing.
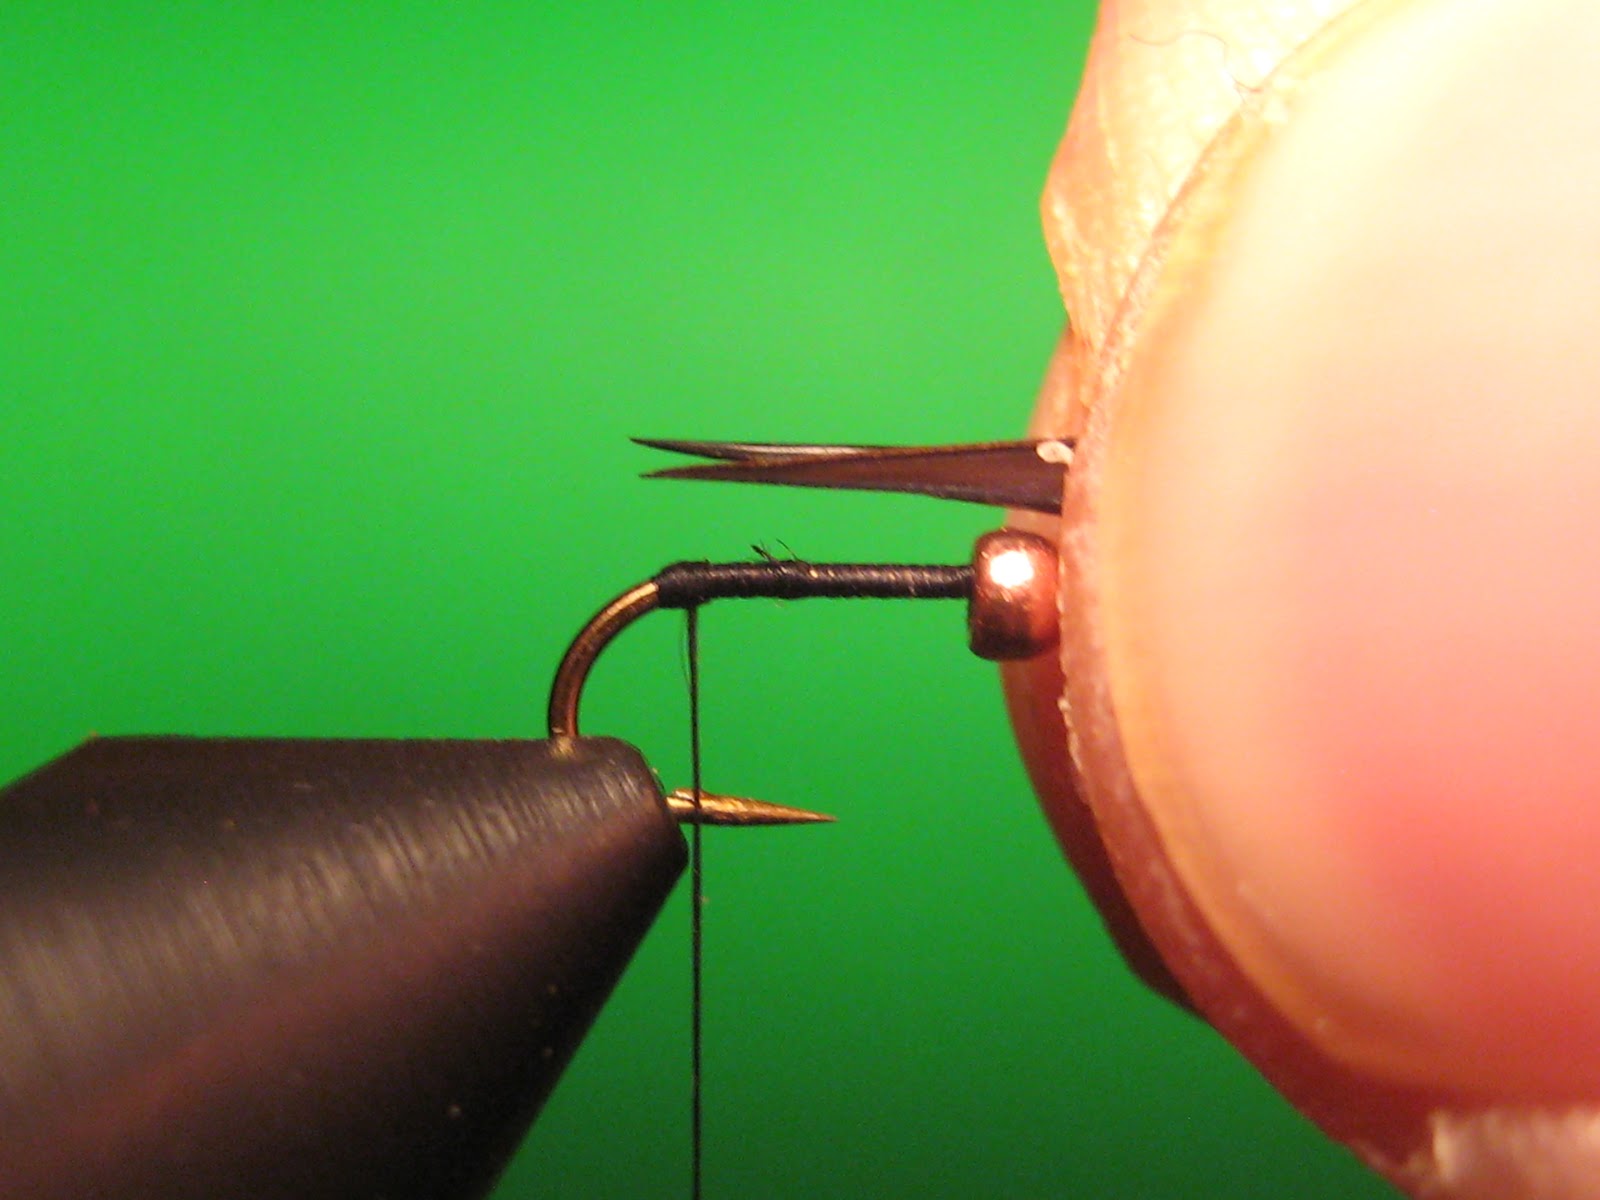
Start by mashing the barb, and placing the bead on the hook
Start your thread just behind the bead, and wrap evenly to the hook bend.
Wrap a few times to build up a little bump.
Making this little bump helps to keep the goose biots separated.
Select two goose biots and put them back to back as shown...
Measure your goose biots. The tail should be the length of the hook shank.
Tie in the goose biots with a soft wrap, followed by a few tight wraps.
Trim the tag ends of the goose biots.
Tie in the copper wire, and wrap your thread to the tail.
Try to keep your thread wraps as even as possible.
Wrap your thread to the bead, and then evenly wrap your copper wire toward the bead.
Tie off the wire, and break, or cut the tag end off.
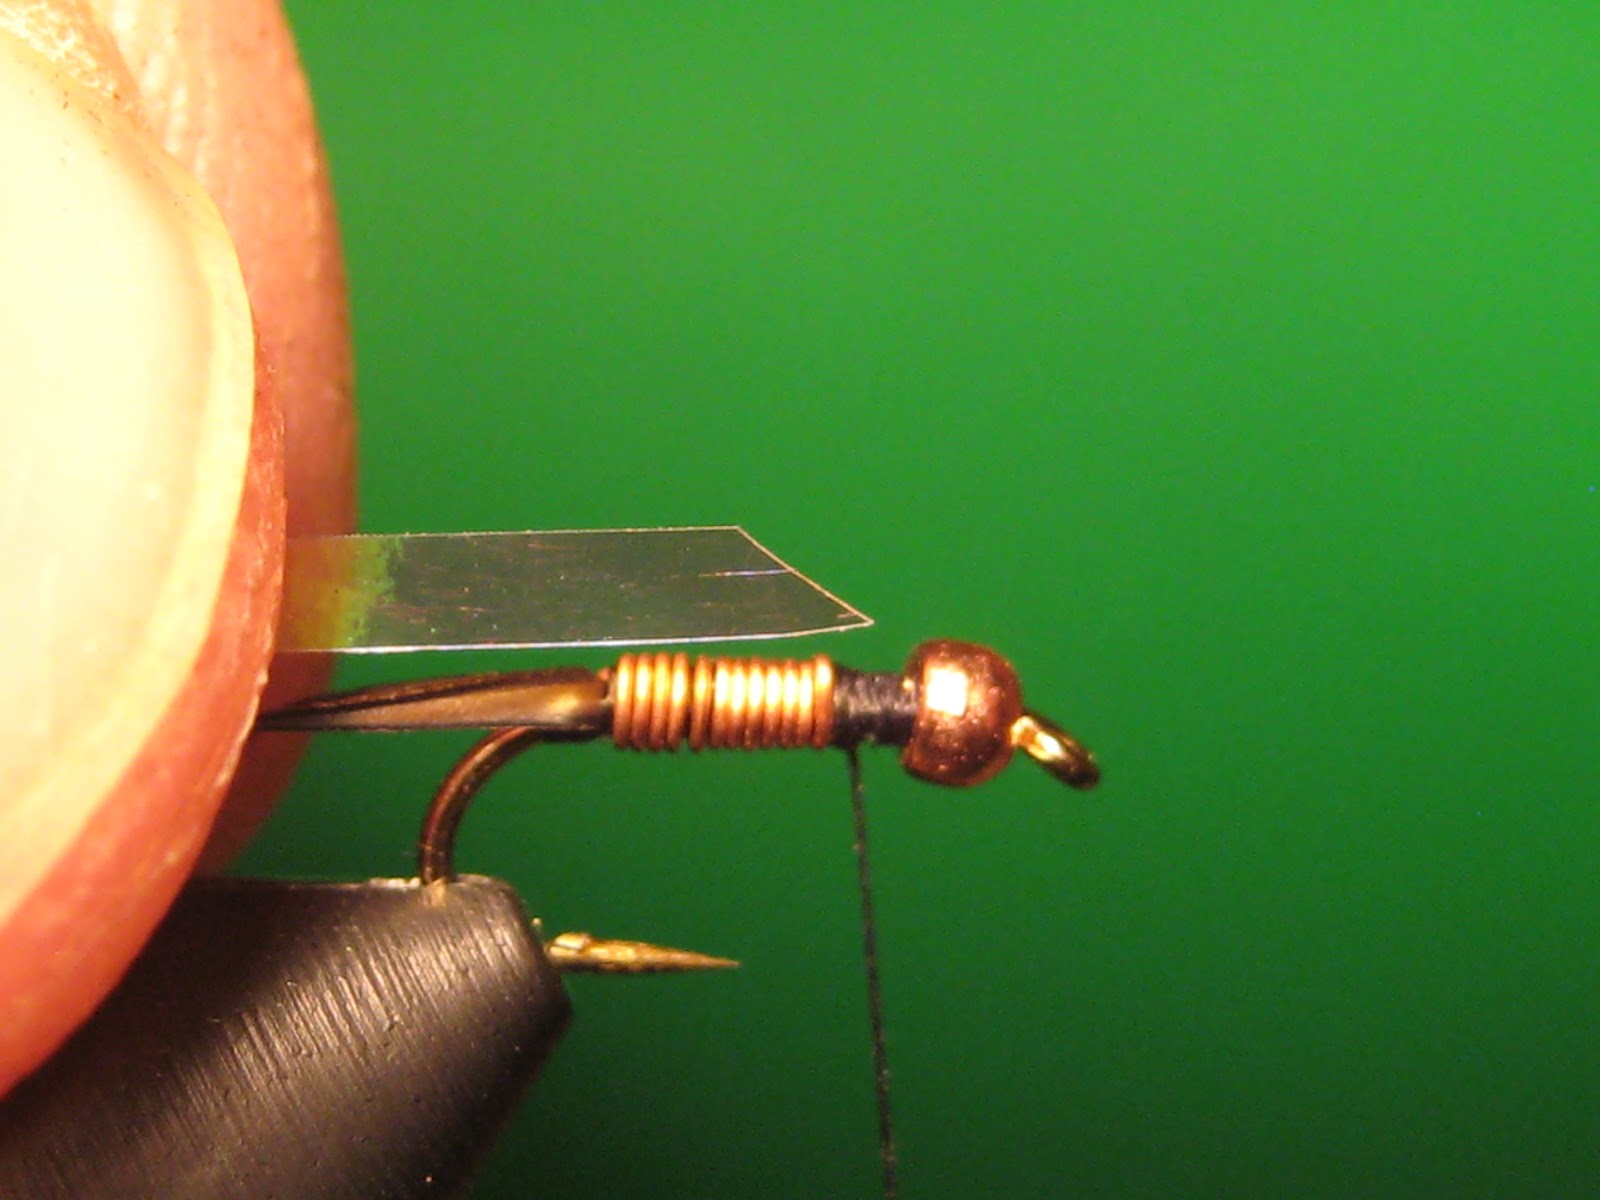
Tie in your flashback.
I cut an angle in the flash where I am going to tie it in to cut down on bulk.
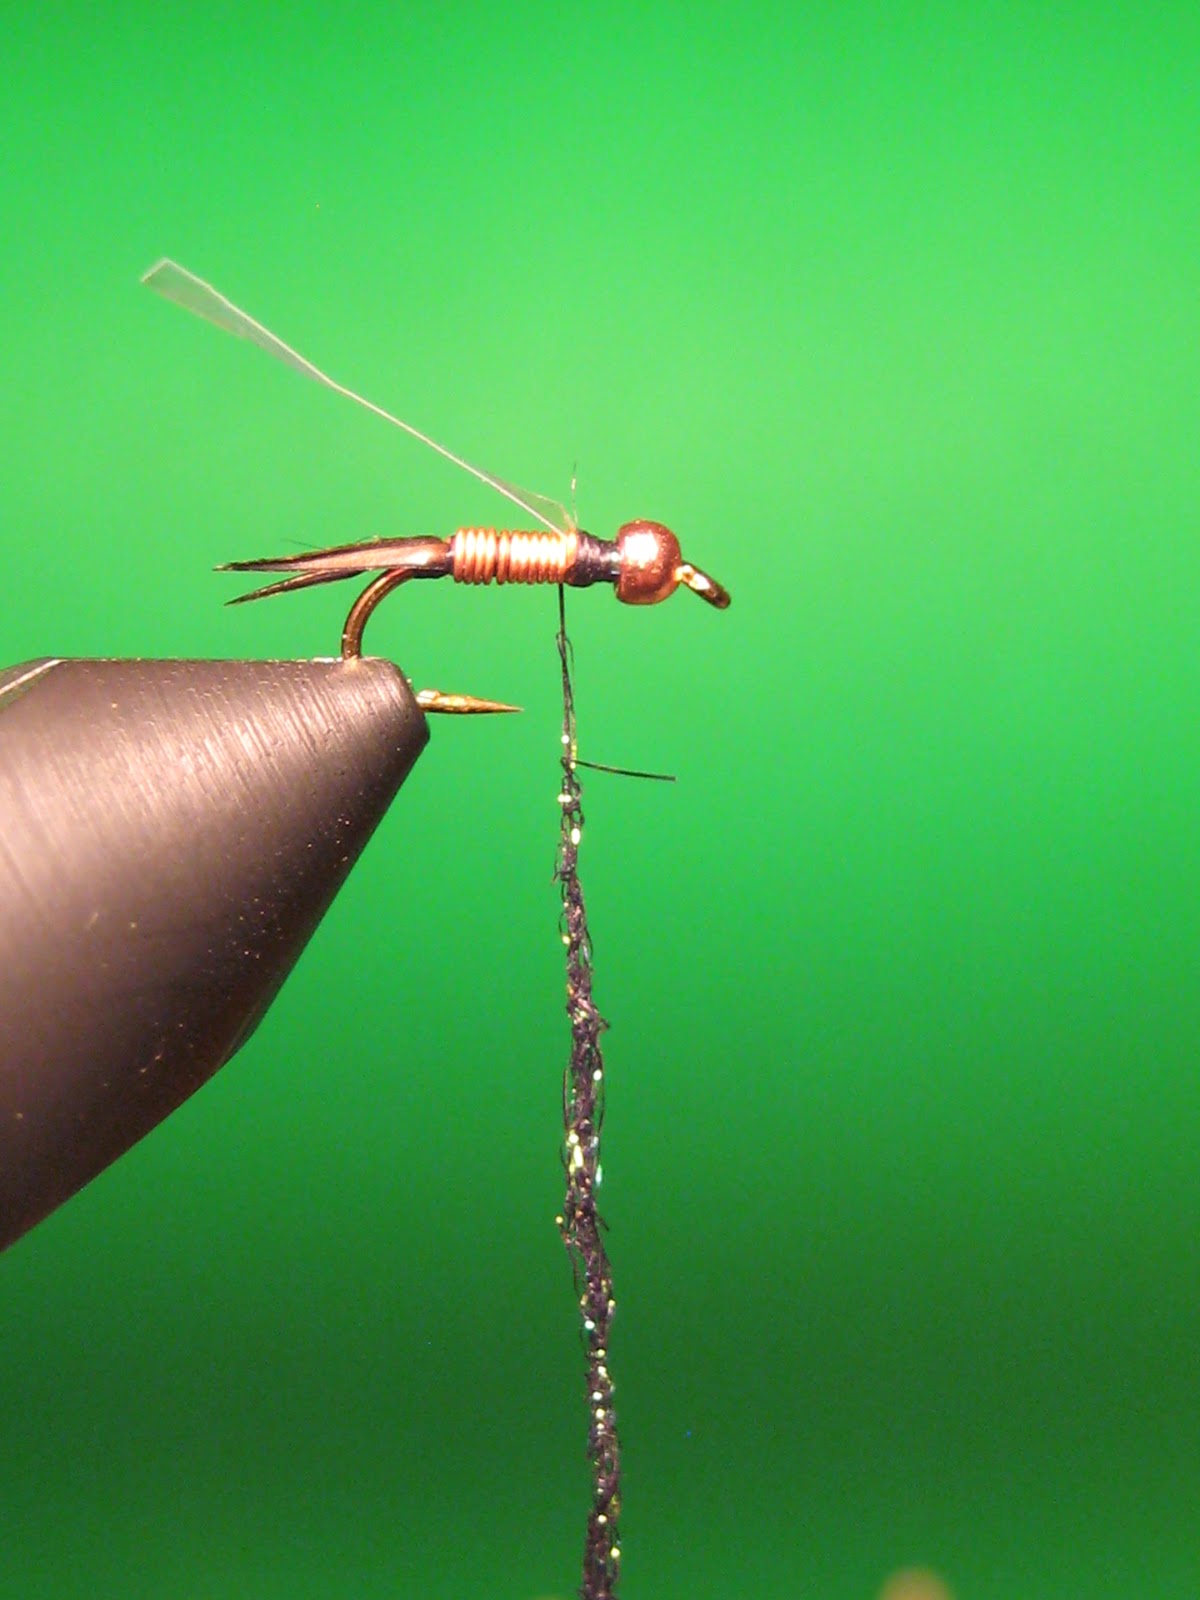
Dub some synthetic peacock dubbing onto your thread, and wrap to create the thorax.
Select some dyed black mallard flack to tie in as legs.
I like to keep the fibers attached to the stem of the feather as shown. This way, it is much easier to start over if you mess up.
Tie in the legs....
...and cut off the tag ends.
Whip finish.
Wednesday, November 14, 2012
Building a fly rod hand wrapper
For the past few years, I have been thinking about building my own fly rod. From the reviews that I have read, they seem to be excellent quality for the price. One guy even compared a $120 MHX kit to his $900 Sage One rod. I was planning on ordering a kit from here: http://www.mudhole.com/Shop-Our-Catalog/MHX-Fly-Kits
The prices of the kits for a first time builder are very fairly priced. The commercially available hand wrappers however, seemed a little overly priced for a few pieces of wood stuck together. So I decided to build my own...
I routed out a piece of ash (any hardwood can be used), and used some 1/4" bolts with the heads ground down to fit in the hole snugly, but you are still able to adjust the arms, and thread guide easily when loosened. The arms, and thread guide are made out of pine. I plan on adding some felt to the inside of the V's on the arms to reduce scratching while wrapping. Tension is kept on the thread spools with a spring behind a washer and a nut.
I pretty much guessed on dimensions, but what I have here seems like it will work just fine. I'm sure I will make some adjustments once I build my first rod...
The prices of the kits for a first time builder are very fairly priced. The commercially available hand wrappers however, seemed a little overly priced for a few pieces of wood stuck together. So I decided to build my own...
I routed out a piece of ash (any hardwood can be used), and used some 1/4" bolts with the heads ground down to fit in the hole snugly, but you are still able to adjust the arms, and thread guide easily when loosened. The arms, and thread guide are made out of pine. I plan on adding some felt to the inside of the V's on the arms to reduce scratching while wrapping. Tension is kept on the thread spools with a spring behind a washer and a nut.
I pretty much guessed on dimensions, but what I have here seems like it will work just fine. I'm sure I will make some adjustments once I build my first rod...
Friday, November 9, 2012
Custom fly tying bench.
I thought I'd share this fly tying bench that I made out of cherry, and corian table top. Also, I'll show you how I made bowls to hold materials like hooks, and beads.
The commercial bench's that I've seen for sale just have holes made with a drill press, so removing small hooks and beads is difficult with the sharp edges on the bottom. With the rounded, bowl shape, it is much easier to remove material.
I used a drill press, with bits sized from 2" down to 1" to step out the bowls.
I marked my piece of cherry 3 inches apart, and in the center.
Here are the stepped out bowls...
Using curved chisels, I smooth out the steps, trying not to let the chisel skip.
Here are the steps chiseled out. Dig the hole in the middle left by the drill press with your chisel.
This is all the bowls dug out. After this, I use a course piece of sandpaper to get the bulk of the leftover chunks out, then I use a fine piece of sandpaper (180 or so..) to smooth everything up.
Here it is all sanded down. I finish it with a few coats of lacquer.
And here it is all loaded up!
The commercial bench's that I've seen for sale just have holes made with a drill press, so removing small hooks and beads is difficult with the sharp edges on the bottom. With the rounded, bowl shape, it is much easier to remove material.
I used a drill press, with bits sized from 2" down to 1" to step out the bowls.
I marked my piece of cherry 3 inches apart, and in the center.
Here are the stepped out bowls...
Using curved chisels, I smooth out the steps, trying not to let the chisel skip.
Here are the steps chiseled out. Dig the hole in the middle left by the drill press with your chisel.
This is all the bowls dug out. After this, I use a course piece of sandpaper to get the bulk of the leftover chunks out, then I use a fine piece of sandpaper (180 or so..) to smooth everything up.
Here it is all sanded down. I finish it with a few coats of lacquer.
And here it is all loaded up!
Thursday, November 1, 2012
How to tie the San Juan Worm
San Juan Worm
Materials Needed:
Hook:TMC 2487 sizes # 14-18
Thread:Red 6/0
Body:Extra fine, red chenille
This is a very simple pattern that does pretty well in muddy water. I don't use this pattern as often as I should... This is actually my very first attempt at tying it as well.
STEP 1:
Start your thread, and wrap it to about the middle of the hook gap.
STEP 2:
Tie in your piece of chenille with a few tight wraps. Continue wrapping your thread forward around just the hook shank.
STEP 3:
When you reach the middle of the hook shank, lay your chenille down, and wrap a few tight wraps over it. Lift the chenille, and continue wrapping your thread around the hook shank.
STEP 4:
When you reach the eye of the hook with your thread, lay the chenille down and tie it in. Whip finish.
STEP 5:
With a lighter, burn the ends to length.
Hook:TMC 2487 sizes # 14-18
Thread:Red 6/0
Body:Extra fine, red chenille
This is a very simple pattern that does pretty well in muddy water. I don't use this pattern as often as I should... This is actually my very first attempt at tying it as well.
Start your thread, and wrap it to about the middle of the hook gap.
Tie in your piece of chenille with a few tight wraps. Continue wrapping your thread forward around just the hook shank.
When you reach the middle of the hook shank, lay your chenille down, and wrap a few tight wraps over it. Lift the chenille, and continue wrapping your thread around the hook shank.
When you reach the eye of the hook with your thread, lay the chenille down and tie it in. Whip finish.
With a lighter, burn the ends to length.
Subscribe to:
Posts (Atom)