I grew up in northern Wisconsin fishing the muddler minnow for big brook trout. Don Gapen developed this streamer to imitate the slimy sculpin which is a nocternal fish that tends to bounce across the creek or lake bottom. It's an excellent pattern that can be fished dry or wet, although I usually fish it wet with full sink, or sink tip line.
Materials Needed:
Hook: 4x long streamer hook. Size #8-14
Thread: Gel spun thread.
Tail: Mottled turkey feather.
Body: Tinsel. Originally tied with gold and silver, I found red holo tinsel to work great.
Under wing: Squirrel tail.
Wing: Matching pair of mottled turkey feather segments.
Head: Spun deer hair with collar.
Secure your hook in the vise.
Start your thread and wrap to the back of the hook shank.
Select a single segment of mottled turkey feather to tie in as a tail. The width should be about the length of the hook shank.

Wrap one loose wrap of thread over the tail and hook shank while pinching both with your thumb and index finger. This will help keep the tail from rotating around the hook shank. You want the tail to be directly on top of the hook shank.

Trim the but section of the tail at about where you will start the head. About 1/3 of the length of the hook shank as shown.
Tightly wrap down the butt end of the tail.
Return your thread to the end of the hook shank, and tie in a piece of tinsel. Pull the tinsel to the side as shown so the tinsel is perpendicular to the hook shank. Its much easier to wrap a smooth tinsel body this way.

Wrap your thread tightly over the butt end of the tinsel to the same point that you ended your butt ends of your tail.
Wrap your tinsel forward and tie it off with your thread.
Tie in your gray squirrel tail fibers. The length should reach the end of the tail.
Trim the butt ends, and wrap your thread tightly around the remaining butt ends to secure them tightly to the hook shank.

Select two segments from opposite sides of a mottled turkey feather. The width should be slightly larger than the hook gap
Place the segments concave sides together, and make sure they are even.
Tie in these turkey segments the same way you tied in the tail. Pinching both the segments and the hook shank as you wrap your thread over them so they don't rotate around the hook shank.
Use a light thread wrap at first so you can readjust the wing if you need to.
The tip of the wing should reach the tip of the tail, and underwing.

Trim the butt ends, and tie them securely to the hook shank.
Place a drop of head cement or CA glue on your tie in point to increase durability. Let it dry.
Wrap your back to butt up to the wing.
Cut, clean, and stack a clump of deer hair. I use a clump about the diameter of a pencil
Measure the deer hair so the tips extend about half way down the wing.
Make one loose wrap of thread, pull the thread tightly, and let the deer hair rotate around the hook shank.
You want the deer hair to be evenly distributed around the hook shank. If it's not evenly distributed, use your thumb nail to move the hair to where you want it.
Wrap your thread through the butt ends of the deer hair to hold them in place.
Preen the butt ends back so they are out of the way when you tie in your next clump of deer hair.

Cut and clean another clump of deer hair. No need to stack, just clip the tips of the hair off leaving about an inch and a half of the thicker ends of the deer hair.
Tie in with one or two loose wraps, pull tight to flare the hair, and then secure them to the hook shank by tightly wrapping your thread through the butt ends.

Preen the hair back, and whip finish without catching any stray deer hair in your knot.
Trim your thread and apply head cement.
Pull the hair forward so they are standing straight up and down. Try to keep the collar (deer hair tips) and the head (deer hair butts) separated to make trimming easier.
At this point I remove the fly from my vise, and trim the deer hair into a bullet shape as shown. It really helps to have a pair of curved tipped scissors. Be careful not to trim the tips of the deer hair from the collar.


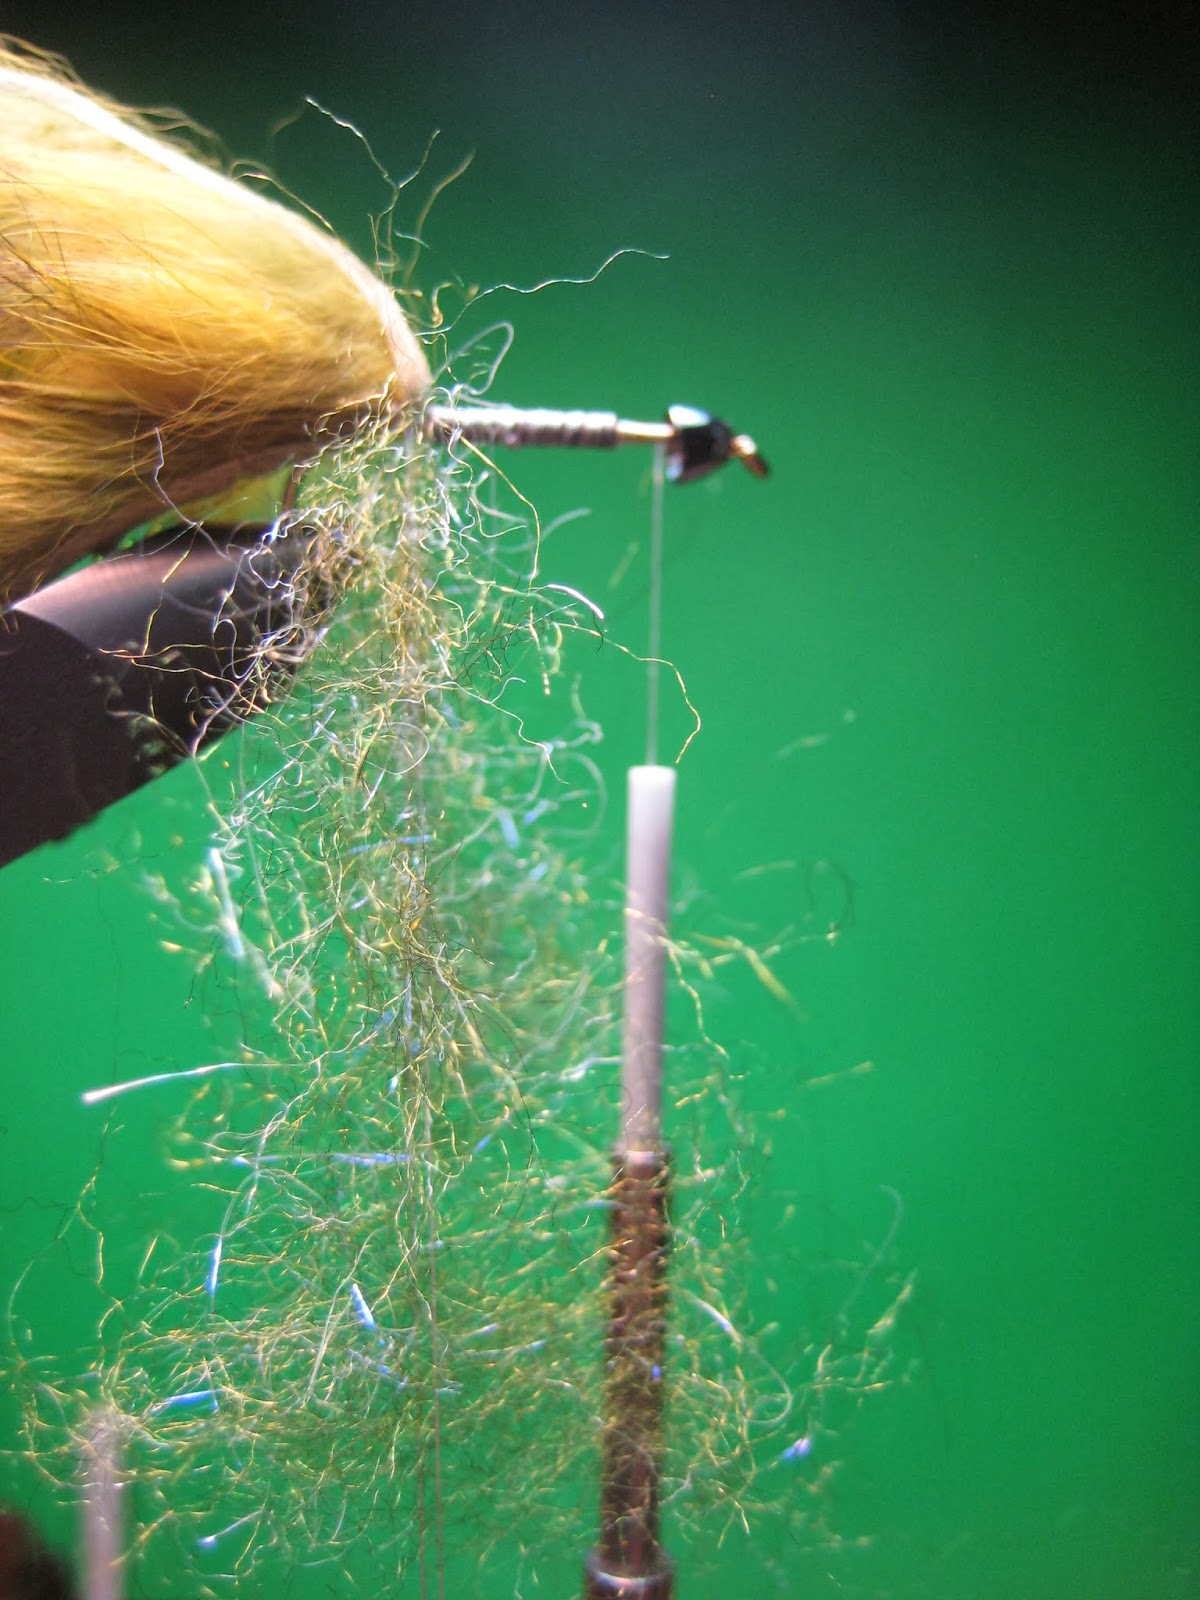

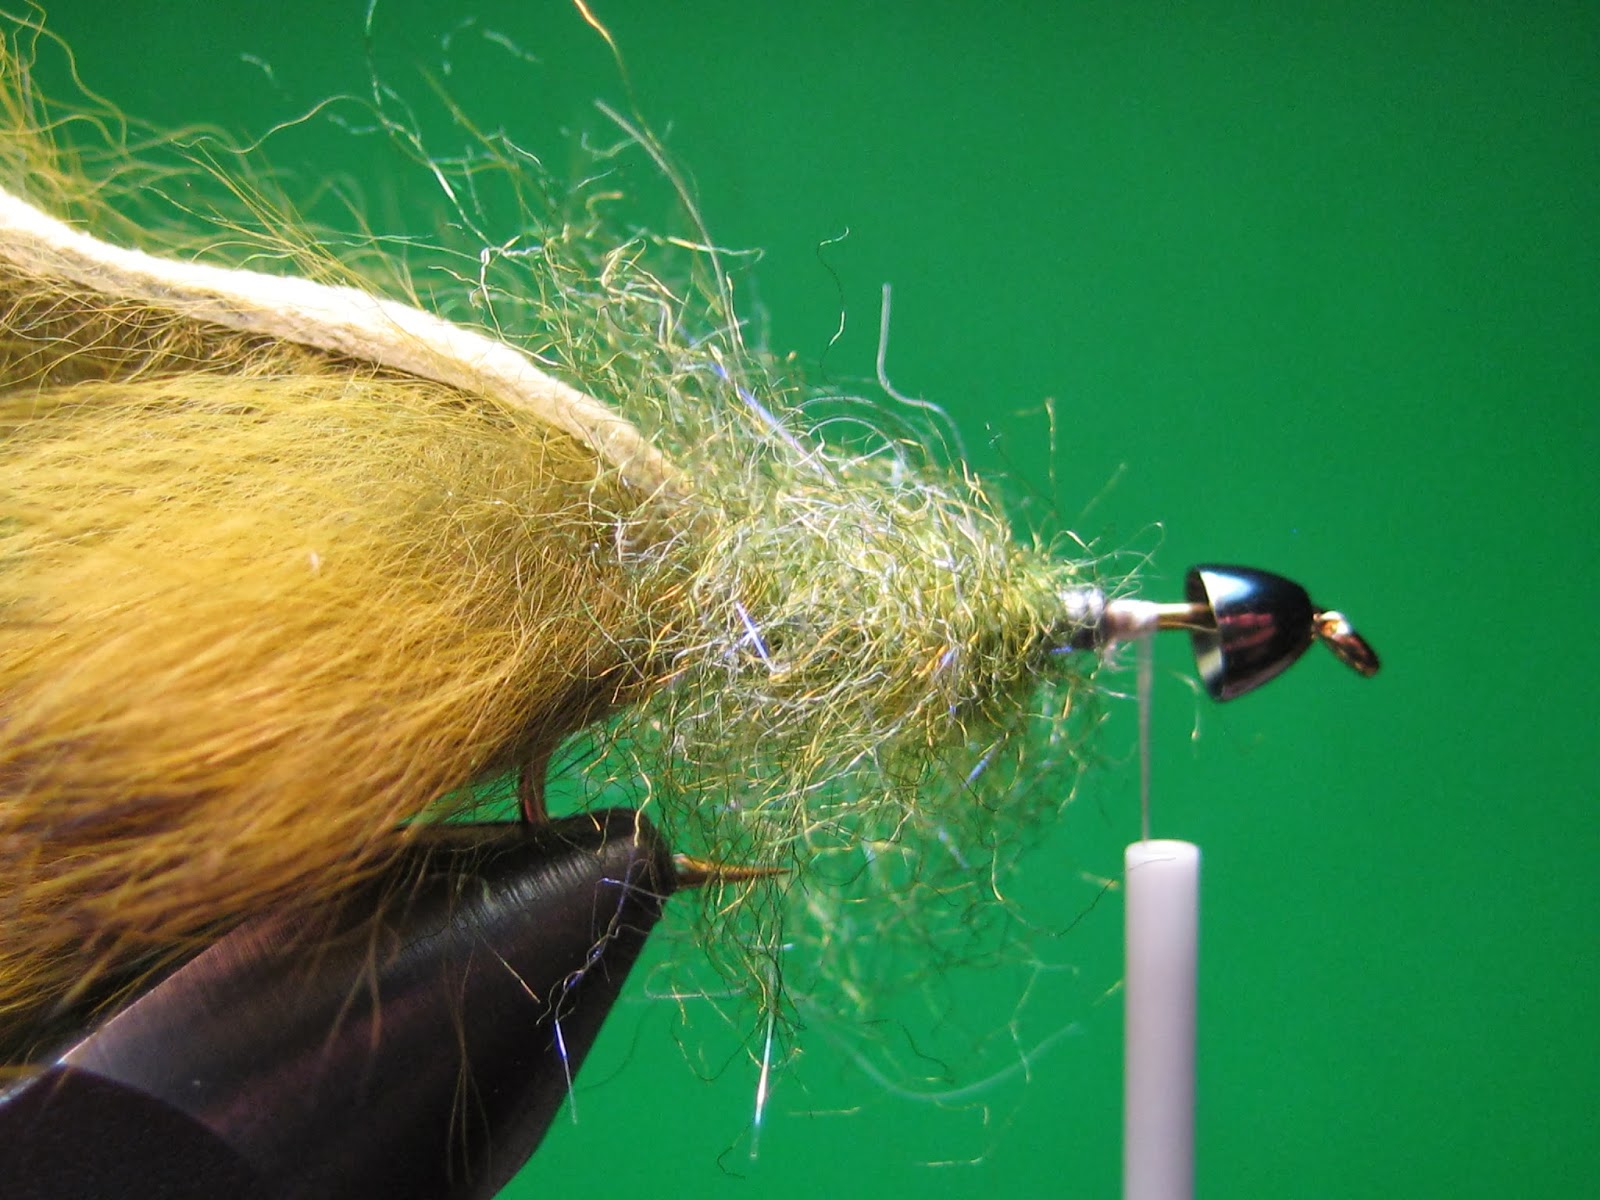


 ...A little at a time....


