Friday, February 21, 2014

Klinkhammer quill body blue wing olive


Materials needed:
Hook:  Curved shank thin wire hook.  I'm using a 206BL, size #16
Thread:  Olive 8/0
Body:  Olive peacock herl with all the fuzz stripped off.
Post:  White closed cell foam.  I'm using 2.5mm foam for my size #16 hook
Thorax:  Peacock herl
Hackle:  Medium dun dry fly hackle, one size larger than your hook.

 Put your hook in your vice.
Start your thread a little behind the hook eye.


Cut a piece of foam about half the width of the hook gap.  Cut the end of the foam on an angle so when you tie it in you don't add too much bulk
Tie in your foam post with 4-6 tight thread wraps.
Wrap a few wraps of thread in front of the post to help hold it in place, and wrap as many thread wraps that it takes to cover your tie in point completely with thread.  Make a nice smooth transition from the hook shank up to the foam post.
Wrap 5-6 wraps of thread around just the foam post.


Tie in your hackle parallel with the foam post so it stands up vertically as shown.
Tie in your olive dyed stripped peacock herl to about half-way down the hook gap.
Wrap the stripped peacock herl forward to build the body.
Wrap the herl up to the foam post.
Tie off the herl, and trim the butt end.
Apply some thin U.V. resin to the body to improve durability.
Tie in your natural peacock herl just behind the foam post.
Wrap the peacock herl forward with a few figure 8 wraps, and then tie it off with your thread.
Wrap your hackle around just the foam post 4-6 wraps.  Tie it off by wrapping your thread around the hackle and the post, locking the hackle in place.

Tie your thread off just behind the hook eye, and trim the butt end of your hackle.
Then whip finish, and trim your thread.
Trim the foam post.
You can optionally flip the fly over and put a drop of Zap-A-Gap on the hook eye, and let it seep into the thorax/hackle/post which will make it extra durable.  Just make sure you don't use too much.


If you'd like to see an easy way to strip all the fuzz off the peacock herl see this post:  http://mytroutfly.blogspot.com/2013/07/stripping-peacock-herl-easy-way.html

And here is how I dye the stripped peacock herl:  http://mytroutfly.blogspot.com/2013/07/dyeing-your-own-fly-tying-materials-in.html

Tuesday, January 14, 2014

Zonker strip sculpin


Materials needed:
Hook:  Any standard 3x long streamer hook.  Size's #12-2.
Weight:  Lead, or lead-free wire, and a cone head bead.
Thread:  Gel spun thread.  I'm using white, but any color could be used.
Tail:  Olive midge flash/olive zonker strip.
Body:  Olive Senyo's laser dubbing, zonker strip, and red flash.
Head/collar:  Spun and trimmed olive deer body hair.

Start by putting your bead on your hook.


Wrap some weighted wire around the hook shank.  Leave some room between the bead and the hook bend as shown.


Secure the wraps to the shank with some thread wraps across the wire wraps.  Apply a drop of zap-a-gap or super glue.


Tie in 5 or so strands of olive midge flash.


Fold back the butt ends of midge flash and tie those in as well.


Trim the flash so it's about the length of the hook shank.


Measure your zonker so that it equals one hook shank.  Separate the hair on the strip of leather at your tie in point so you don't trap any fibers.

Wetting your fingers makes separating the hair much easier.


Tie in the zonker strip at your tie in point with 3-5 tight thread wraps.


Pull back the front part of the zonker strip, and wrap 3 tight wraps of thread in front of the zonker strip around the hook shank only.  This will lock it in place.


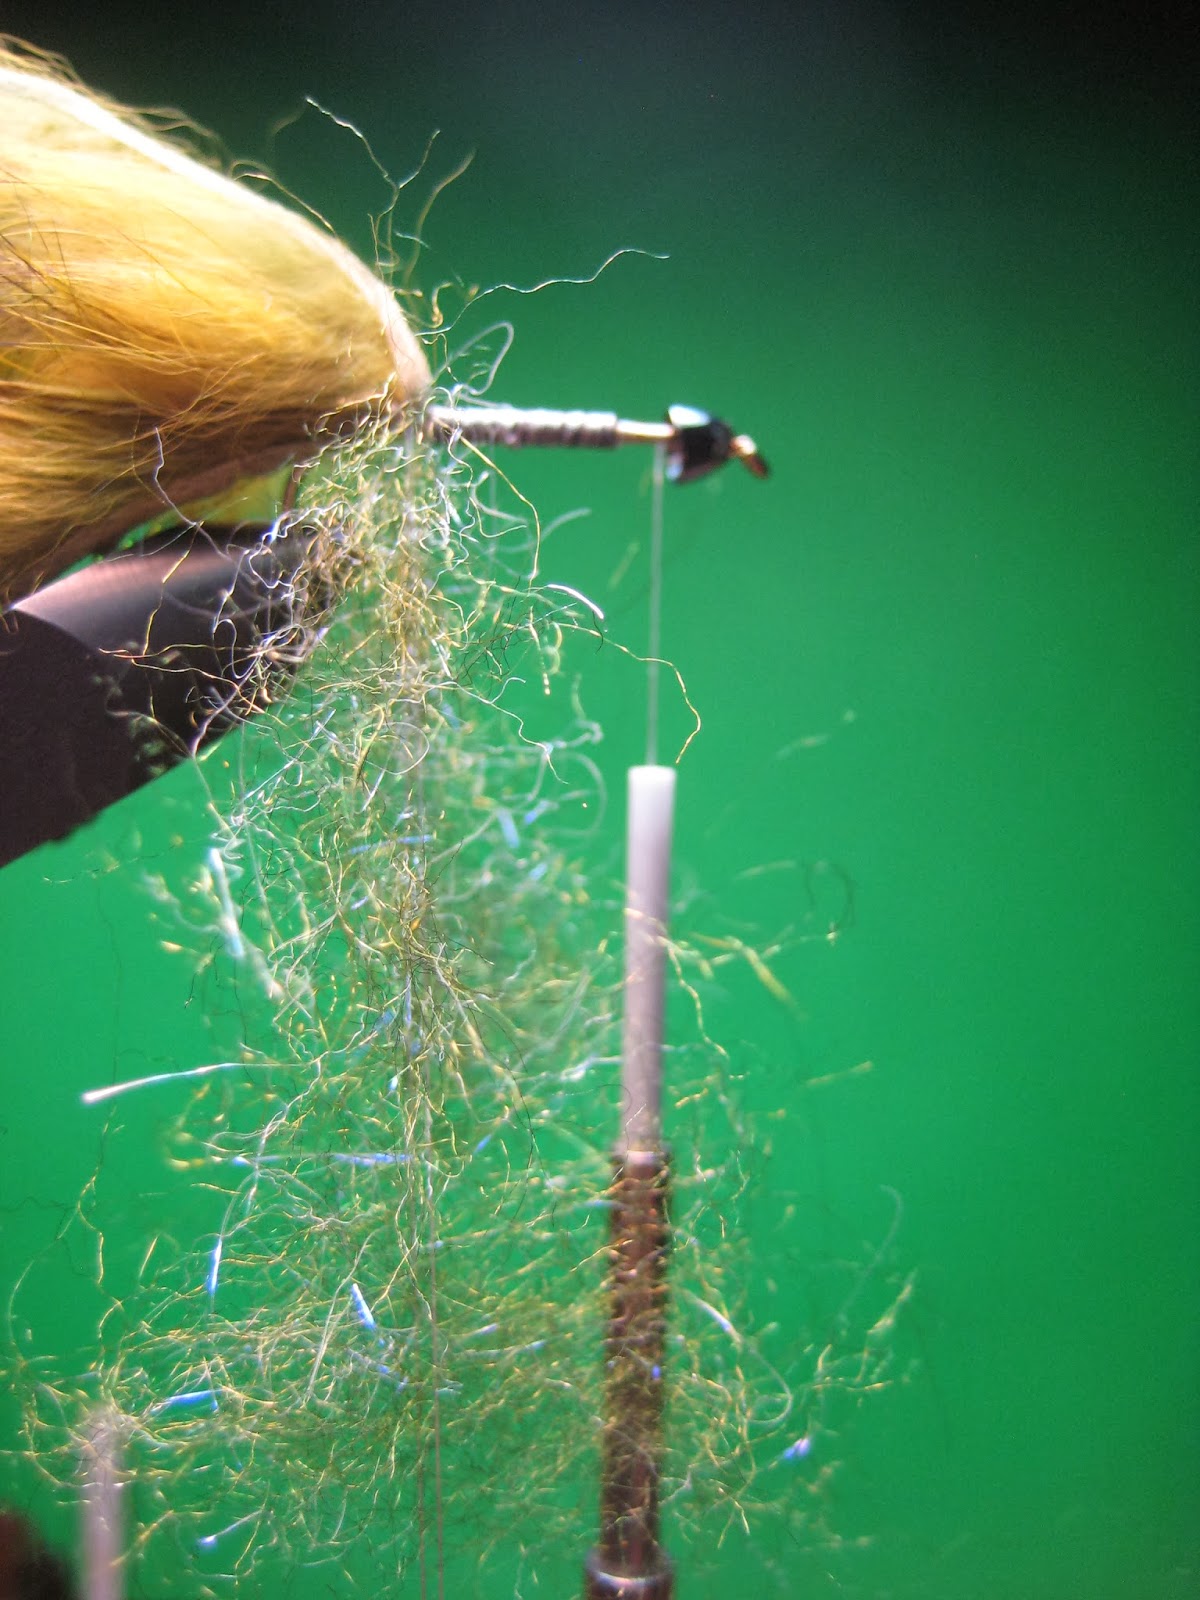
Create a dubbing loop with your olive Senyo's laser dubbing.


Twist, and brush out the fibers.


Wrap your dubbing loop forward to build the under-body.


Tie in some red flash on the under side of the hook shank.


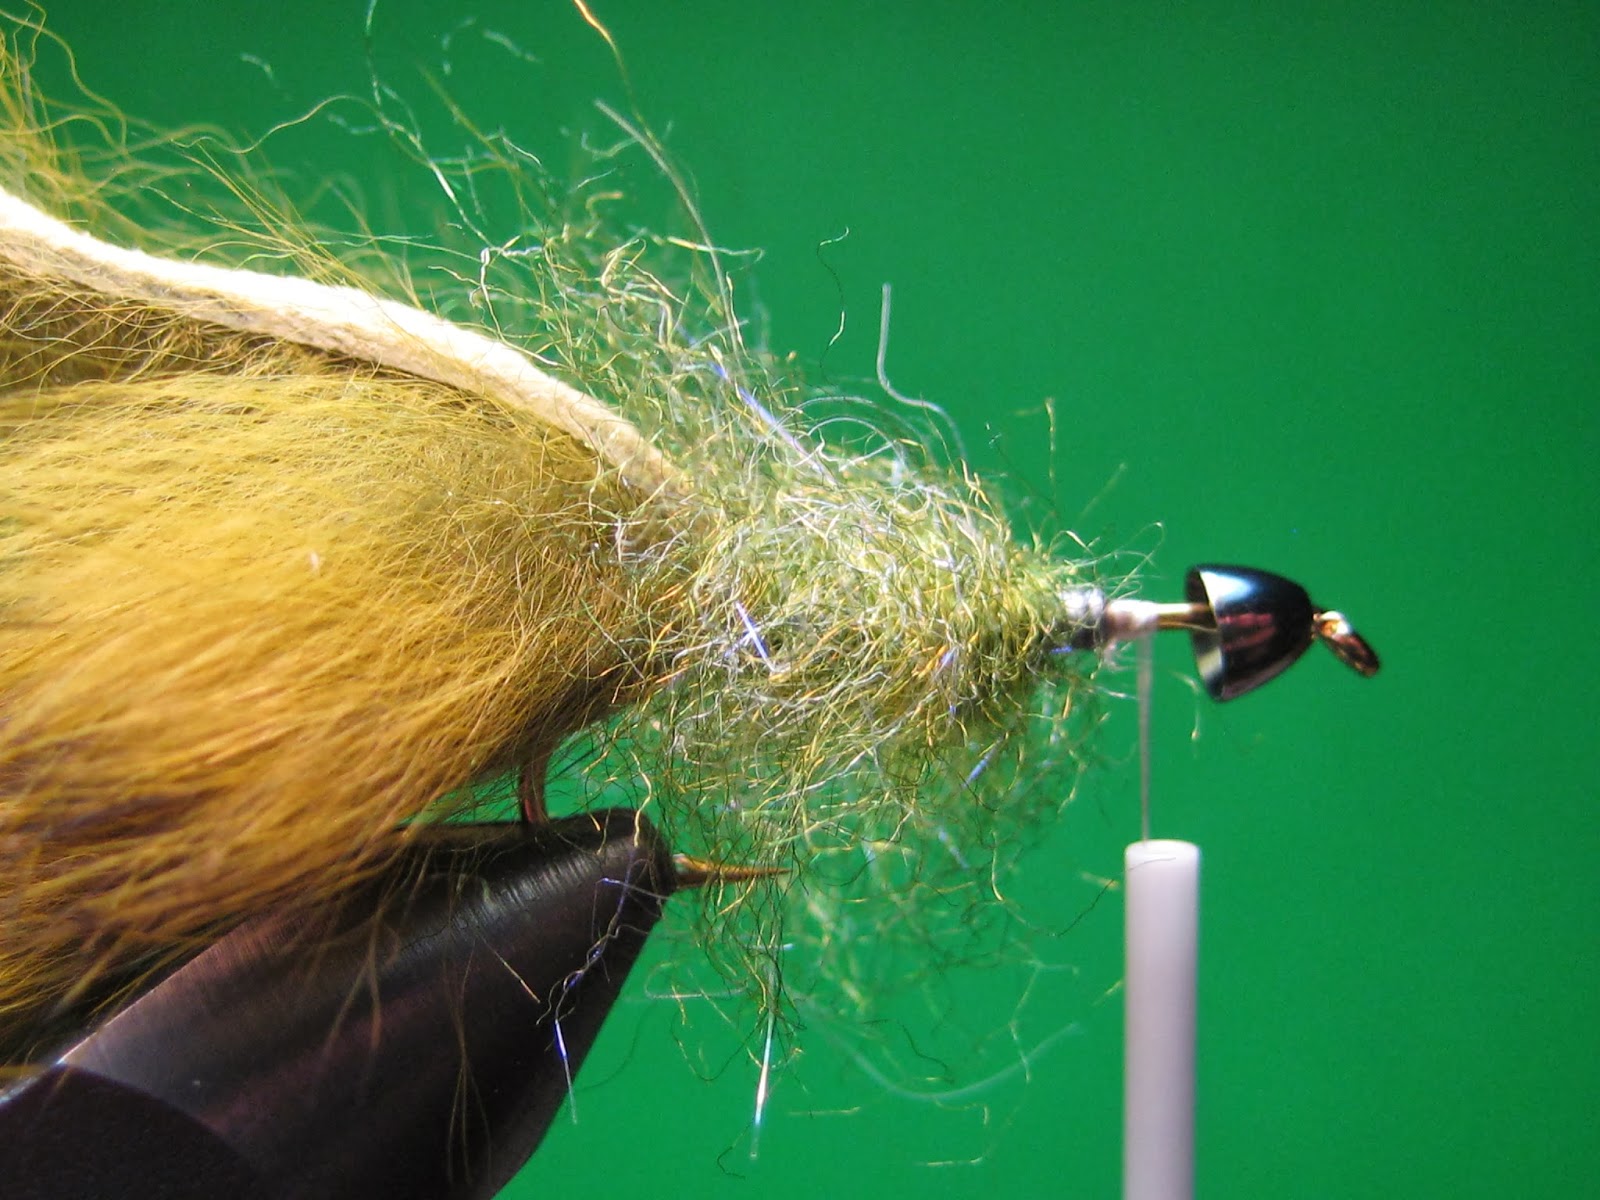
Fold the zonker strip over the dubbed body, and separate the fur at your tie in point just in front of the dubbed body.


Secure the zonker strip to the hook shank with 3-5 tight wraps.


Trim the butt end of the zonker strip, and wrap 5 or so more tight wraps to ensure the zonker strip will not move.  You can apply some zap-a-gap to the tie in point as well.


Cut, clean, and stack a clump of deer body hair.  Put the clump on a 45 degree angle from the hook shank, and the tips of hair pointing to the rear of the hook.  Put one loose wrap over the clump and hook shank, then pull tight.  The deer hair will flare out.  Make 2 more tight wraps through the butt ends and the hair should "spin" around the hook shank somewhat evenly.

Don't be afraid to use your thumb nail to get the hair where you want it.

Cut and clean another clump of hair.  No need to stack the hair, just cut the tips off leaving you with a one inch or so clump of deer hair.

Do the same as the steps above to spin the hair.


Keep spinning hair until its tight enough to hold your bead tightly in place.

It took 3 big clumps (larger than a #2 pencil) to complete this head.


Now, carefully trim a tapered head, leaving the tips of deer hair as a collar.


...A little at a time....

Be sure to stop after every trim and take a look at the fly to make sure you don't trim too much.


When you get it looking pretty good, stop.

At this point, you can whip finish just behind the bead.

Apply a one drop of zap-a-gap by placing your fly vertically in your vice with the bead at the top.  Put the drop on the hook eye, and let it run into the inside of the bead.


Saturday, January 4, 2014

Double bunny


Materials needed:
Hook  Size #8-2 bass hook.
Thread  Gray Uni-tread 6/0.
Bead  Brass cone head bead with eyes.
Under-body  Senyo laser dubbing gray.
Over-body  2 zonker strips, one gray, one white.  Silver flash.

Put your bead on your hook.


Wrap 20-30 wraps of lead wraps, and press them into the bead.


Rotate your hook 90 degrees for this step.  Get the eyes where you want them.  Put a drop of thin super glue or zap-a-gap on the lead wraps and let it run down into the bead.


Measure your white zonker strip to about the length of 2 hook shanks. Separate the hair fibers at your tie in point, then tie it in with 4-6 tight wraps, then 3 wraps around just the hook shank.  Leave enough room upfront to tuck into the cavity of the bead.


Make a dubbing loop.


Twist...


Brush out the dubbing fibers with a toothbrush or dubbing brush.


Wrap evenly to build an under-body.


Trim the fibers from the end of the strip of leather and tuck it into the cavity of the bead.


Make sure the leather of the zonker strip is tight up against the dubbed body, and secure the leather to the hook shank with 4-6 tight wraps.


Flip the fly over, and measure your gray zonker strip to equal the length of the white one including the tag end that is tucked into the bead.


Lay the gray strip on the underside of the body.  Mark the spot of the zonker strip that lays over the the point where the dubbing meets bare hook shank.  Pierce the zonker strip on that mark.


Put the zonker strip in place along the bottom of the fly.


Trim the fibers off of the end of the zonker strip, and tuck the leather into the cavity of the bead.


Secure the zonker strips with 10+ tight thread wraps.


Tie in 3 strands of silver flash on both sides of the fly.


Whip finish, and trim your thread.


Apply head cement to the thread wraps.