Dying your own fly tying materials is very easy. It is also much cheaper to only buy (or shoot) the naturally colored materials, and then dye them to any shade of any color you like. It's even cheaper yet if you collected the materials yourself.
There are several different methods people use to dye their fly tying materials. Two of the most popular methods include using Kool-aid packets, and Rit clothing dye. I prefer the Rit dye method mainly because it's fast, and it's much easier to achieve the exact color you want by tweaking the measurements of your dyes. Rit has an excellent color formula guide found here:
https://www.ritdye.com/colorit_color_formula_guide. This guide will show you what proportions to mix your dye to achieve 500 different colors.
Popular fly tying materials to dye include synthetic and natural dubbing (rabbit, muskrat, etc.), neck, or saddle hackle, biots, stripped peacock herl, Deer/Elk hair, and pretty much anything else you can imagine (I don't recommend dying CDC feathers using this method though, since it will remove the natural oils that help keep CDC so buoyant).
You will need:
Rit powdered dye (the one that comes in the box). Any colors you choose.
A metal mixing bowl.
A strainer/colander.
Cardboard to dry your wet materials.
A glass jar with a plastic lid, or plastic wrap with rubber bands (microwave safe).
A sink.
Dish soap.
Microwave.
Measuring cup and measuring spoons.
Metal spoon for mixing.

Start by cleaning your materials in warm, soapy water. Swish the materials around with your hand to clean the grease and grime off the material which will make it easier for the dye to penetrate.
Let the materials soak. In the meantime, prepare your dye.

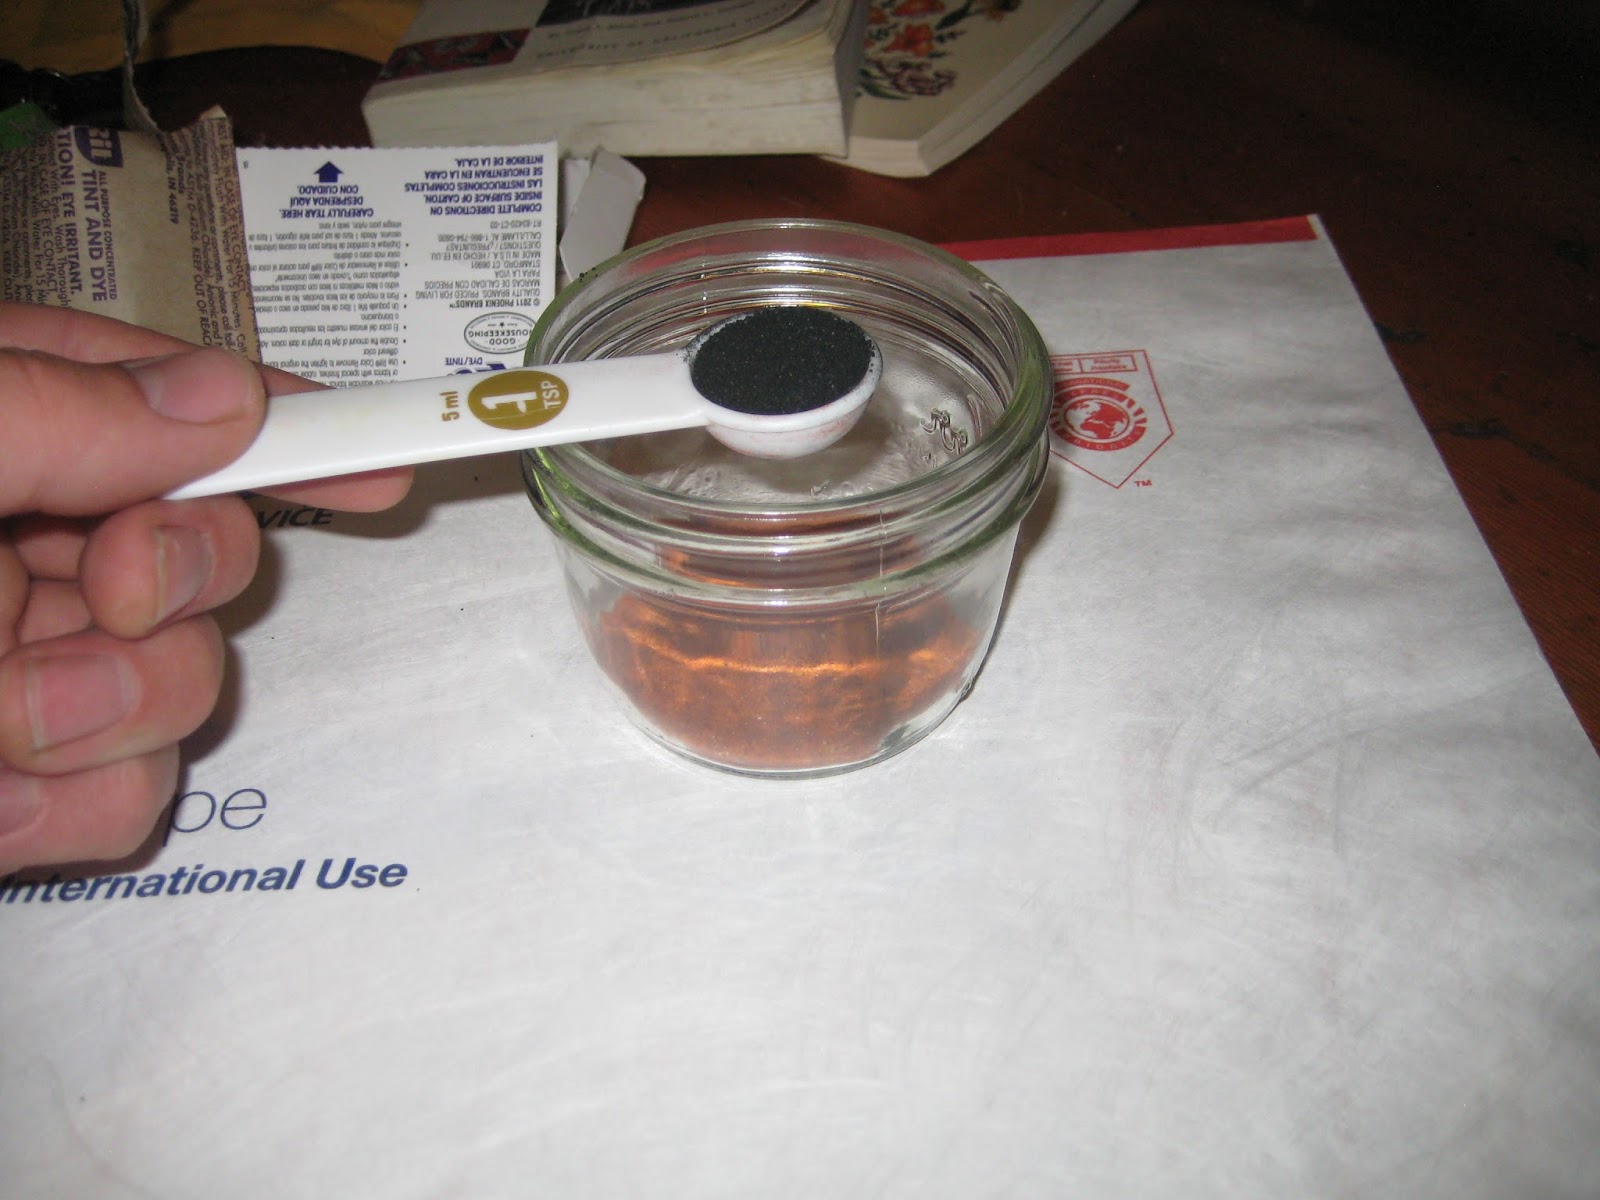
I am using one teaspoon of Golden Yellow, and one teaspoon of Dark Green in 3/4 of a cup of water to get a really nice olive color.

Add your powder dye's to the jar.

Add 3/4 cup of water, and mix thoroughly with a metal spoon. Make sure all of the powder is dissolved.

Rinse out your materials that were soaking in warm soapy water. Make sure all of the soap is removed. The easiest way to do this is to put the materials in a colander or a strainer, and rinse well with warm water.

Place your materials in the dye. In this example I am using stripped turkey feather biots which are stiff and stick out of the jar. That's fine, just flip the materials over half-way through the heating process to ensure there is dye covering the material.

I use these half pint jars with microwave safe plastic lids. I screw the lid on about half way so steam can escape. You can also use plastic wrap with rubber bands holding it place. Just poke a few holes in the plastic wrap before you heat it.
Put the jar in your microwave, on top of some paper towels for 30 seconds.
Then let the jar cool for 30 seconds.
Microwave jar for 15 more seconds, let it cool for about 30 seconds, and then microwave it for a final 15 seconds.
Your microwave time may vary. Microwaving in increments is just the method I found to work best without spilling dye all over my microwave. You should not need to exceed one minute total microwaving time. If the dye mixture start bubbling over, stop your microwave.
Let the jar cool for about 5 minutes.
Remove your materials from the jar and rinse thoroughly with water to remove the left over dye.
At this time make sure the materials are the color you wanted. If they are not colored dark enough, you can repeat the microwave step until the desired color is achieved.
Lay your materials out on a piece of cardboard or paper towel until they are fully dried.
Good luck! I hope you find dyeing your own materials as rewarding as I have!

 Put your one cup of water, and two tablespoons of bleach in your mixing bowl. Mix well with your spoon.